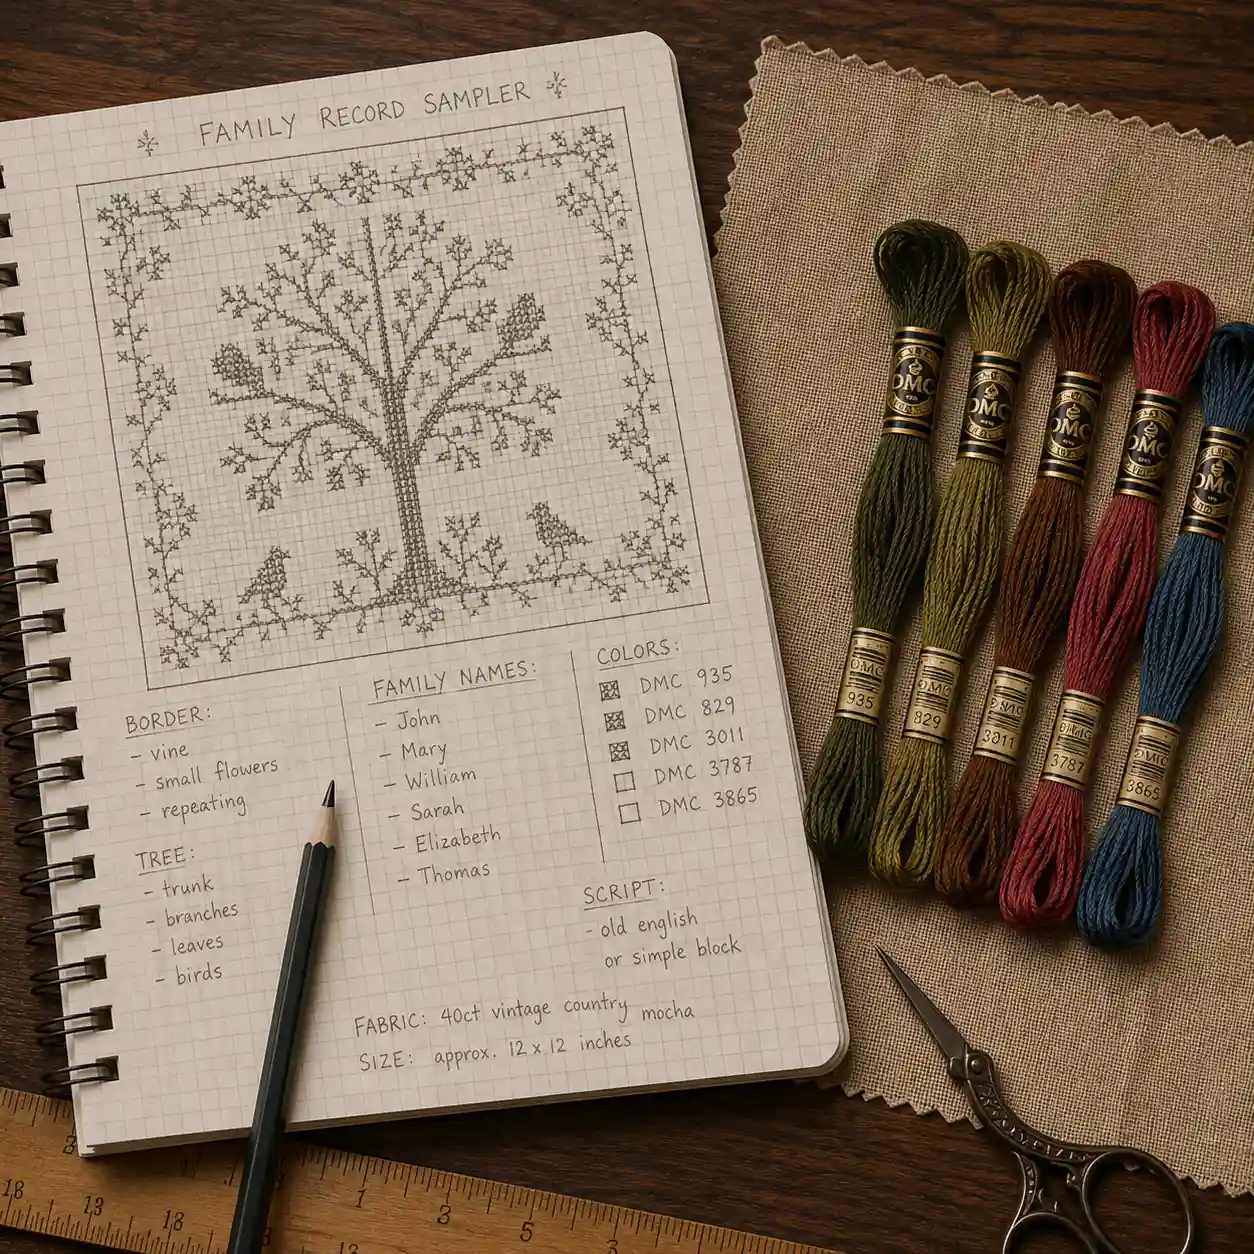
Every style covered elsewhere in this section - band, alphabet, verse, Quaker, family record - is really a different combination of the same small set of ingredients. Once you can see the format that way, designing your own isn't intimidating; it's closer to picking from a menu you already understand.
The ingredient list
Nearly every traditional sampler draws from the same handful of elements, in different proportions:
- An alphabet (full or partial, one style or two)
- Numerals
- A border, simple or elaborate
- Motifs - florals, geometric fillers, animals, houses
- A line of text - a verse, a name, a date, or a short phrase
- The maker's name and date
You don't need all six. A minimal, Quaker-style design might use only geometric motifs and a border. A family record leans almost entirely on names and dates around a central tree. Deciding which ingredients matter to your piece is the real first design decision, before a single stitch count gets chosen.
Start with layout, not stitches
I always block out a rough layout before worrying about exact stitch counts - literally sketching rectangles on graph paper for where the alphabet sits, where a border runs, where the name-and-date line goes. This matters because most composed sampler styles - alphabet, verse, family record - are symmetrical and centered, even if band samplers (built additively, band by band, rather than laid out as a whole) are the deliberate exception: get the rough proportions right first, and the exact counting can come later. Trying to count precisely before you've settled on a layout usually means re-counting everything once you inevitably rearrange something.
Borrow motifs, write your own words
The fastest way to get a traditional feel without starting from nothing is to borrow: alphabet charts, small motifs, and border patterns are widely available and perfectly legitimate to combine into your own layout (this is, historically, exactly what a band sampler stitcher was doing anyway - collecting patterns worth reusing). Where I'd encourage originality is the text. A generic stock verse is fine, but a sampler with your own words, a name that matters to you, or a date that means something is a far more faithful continuation of what samplers were actually for - see verse and motto samplers for how much of the format's meaning always lived in exactly that kind of personal content.
Charting it out
Once you've settled on a rough layout, you'll need to turn it into an actual counted chart - laying alphabet letters, motifs, and border repeats onto a grid at your chosen fabric count. If you haven't designed from scratch before, how to read a cross-stitch pattern or chart is worth a read first so you understand exactly what you're building toward, and finding the center of your fabric and pattern will save you from the single most common layout mistake: starting from a corner and running out of fabric before the design is finished.
Try it: a project idea
Sketch a rough layout on graph paper before touching floss - block out where your alphabet, motifs, border, and name-and-date line will sit, even roughly, before committing to exact stitch counts.