Nearly every cross-stitch mistake I've seen (and made) that ends in "I ran out of fabric halfway through" traces back to skipping this one step. Charts are designed to be worked from the center outward, not from a corner in - here's exactly how to find that starting point on both your chart and your fabric.
Finding the center of your chart
Most printed and digital charts mark their center with small arrows along the top, bottom, left, and right edges, or occasionally a highlighted square near the middle of the grid. Follow the horizontal arrow's row and the vertical arrow's column inward - where they meet is your chart's true center stitch. If a chart doesn't mark this explicitly, you can find it yourself: count the total stitch width and height, then divide each in half (rounding as needed for an odd count) to locate the center square manually.
Finding the center of your fabric
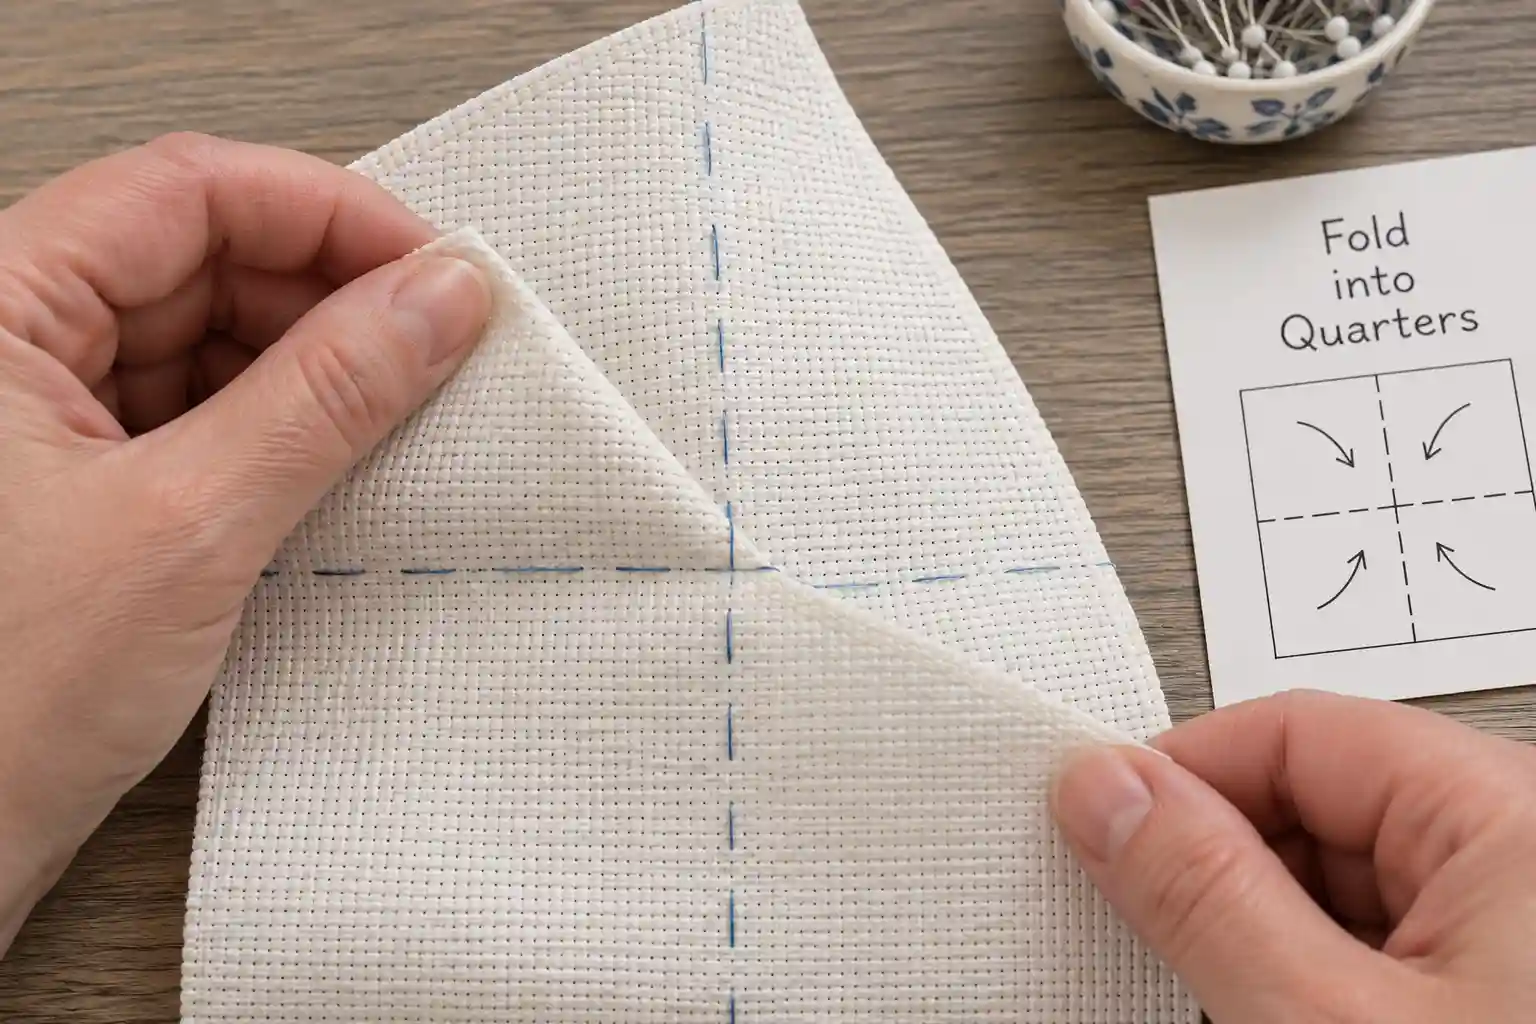
- Fold your fabric in half vertically, then in half horizontally again, so you end up with a small folded square or rectangle.
- The point where all the folds meet is the physical center of your fabric.
- Mark it lightly - a disappearing-ink fabric pen, a single loose stitch, or a straight pin all work - so you don't lose the spot once you unfold the fabric back out.
Some stitchers prefer basting a full horizontal and vertical line across the center rather than marking just a single point, especially on a large piece, since it gives you a visible reference line to count from anywhere in the design, not just the exact middle.
Why this order actually matters
Starting from the center and working outward means any small margin miscalculation shows up as slightly uneven - but still present - fabric margins on all four sides. Starting from a corner risks a much worse outcome: discovering, dozens of hours in, that the design is taller or wider than the fabric you have left. Before cutting fabric for a new project, it's worth running your chart's stitch dimensions through the fabric size calculator to confirm your margins with some room to spare, rather than assuming a specific fabric size will fit.
Once you've found it
With both centers marked, line up your fabric's center point (or the intersection of your basted lines) with your chart's marked center stitch, and that's your very first stitch. From there, work outward in any direction you like - up, down, or sideways - always counting relative to that fixed center point rather than re-measuring from an edge. If you're new to actually placing your first stitch, starting and ending threads without a knot is the natural next step once you know where that first stitch goes.