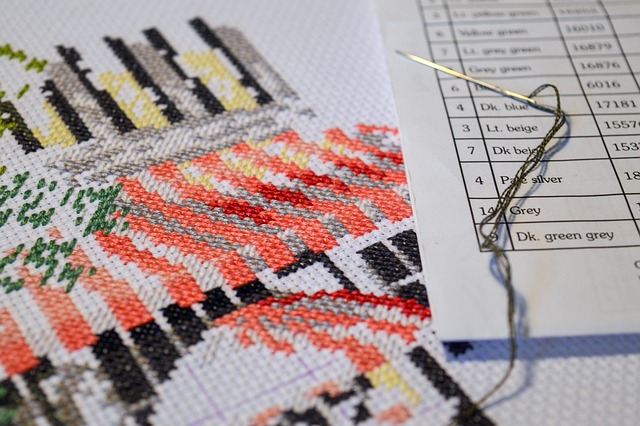
A cross-stitch pattern (also called a chart) looks intimidating the first time you open one - a grid full of colored squares and symbols - and I remember staring at my first one convinced I'd never make sense of it. But it's really just a map. Once you know what each part means, reading one becomes automatic. Here's every piece of it, the way I wish someone had laid it out for me.
The grid
The chart is a grid, and each square represents one full cross stitch on your fabric. The grid does not represent the weave of your fabric 1:1 in physical size - it represents stitch count. A 100×100 square chart is 100 stitches wide and 100 stitches tall, no matter what fabric count you stitch it on. Fabric count only determines the finished physical size (see the Aida cloth count guide for how that math works).
Most charts include heavier grid lines every 10 squares. I always count in blocks of ten rather than one square at a time - it's faster and far less error-prone than counting individually from the edge, and it's saved me from more than one miscount over the years.
Symbols and colors
Each colored or symbol-filled square corresponds to one thread color, listed in a key (sometimes called a legend) printed alongside the chart. The key typically shows:
- A symbol or color swatch
- The floss brand and number (usually DMC, sometimes Anchor - see the floss guide if your pattern uses a brand you don't have)
- Sometimes a color name
Patterns that will be printed in black and white almost always use symbols rather than relying on color alone - a triangle, a dot, an X, and so on - precisely so the design stays legible without color. Full-color charts sometimes use color alone with no symbols, which is faster to read on-screen but harder to print or photocopy accurately.
If a symbol looks unfamiliar or a chart uses shorthand like "3/4 XSt" or "BS," check the abbreviations and symbols glossary - most of what looks cryptic is standardized across the hobby.
Stitch types on the same chart
Not every square is a full cross stitch. Charts commonly layer several stitch types on the same grid:
- Full squares - full cross stitch, the base of almost every design
- Triangular half-squares - half or quarter stitches, used for curves and diagonal detail
- Solid lines drawn over the grid, not inside a square - backstitch, typically used for outlines and fine detail added after the cross stitches are complete
- A dot or small symbol not aligned to the grid - French knots or other specialty stitches
If a chart's key looks unusually complex, it's almost always because it's combining two or three of these on top of each other, not because the underlying technique is harder.
Finding your starting point
Charts are typically read from the center outward, not from a corner. Most include arrows on the edges (or a highlighted center square) marking the horizontal and vertical center of the design - match that to the center of your fabric before making your first stitch. Starting from the center keeps the design balanced within your fabric margins; starting from a corner risks running out of fabric partway through, which happened to me exactly once and never again.
Reading the whole picture before you start
Before threading a needle, I always spend five minutes just looking at the chart as a whole: how many colors it uses, roughly how the design is laid out, where the densest stitching is, and whether it uses backstitch or French knots I'll need to plan for. That quick read-through is what catches surprises for me - like a pattern that's taller than it is wide, or one that needs a fabric size I don't have on hand - before they become a problem mid-project.