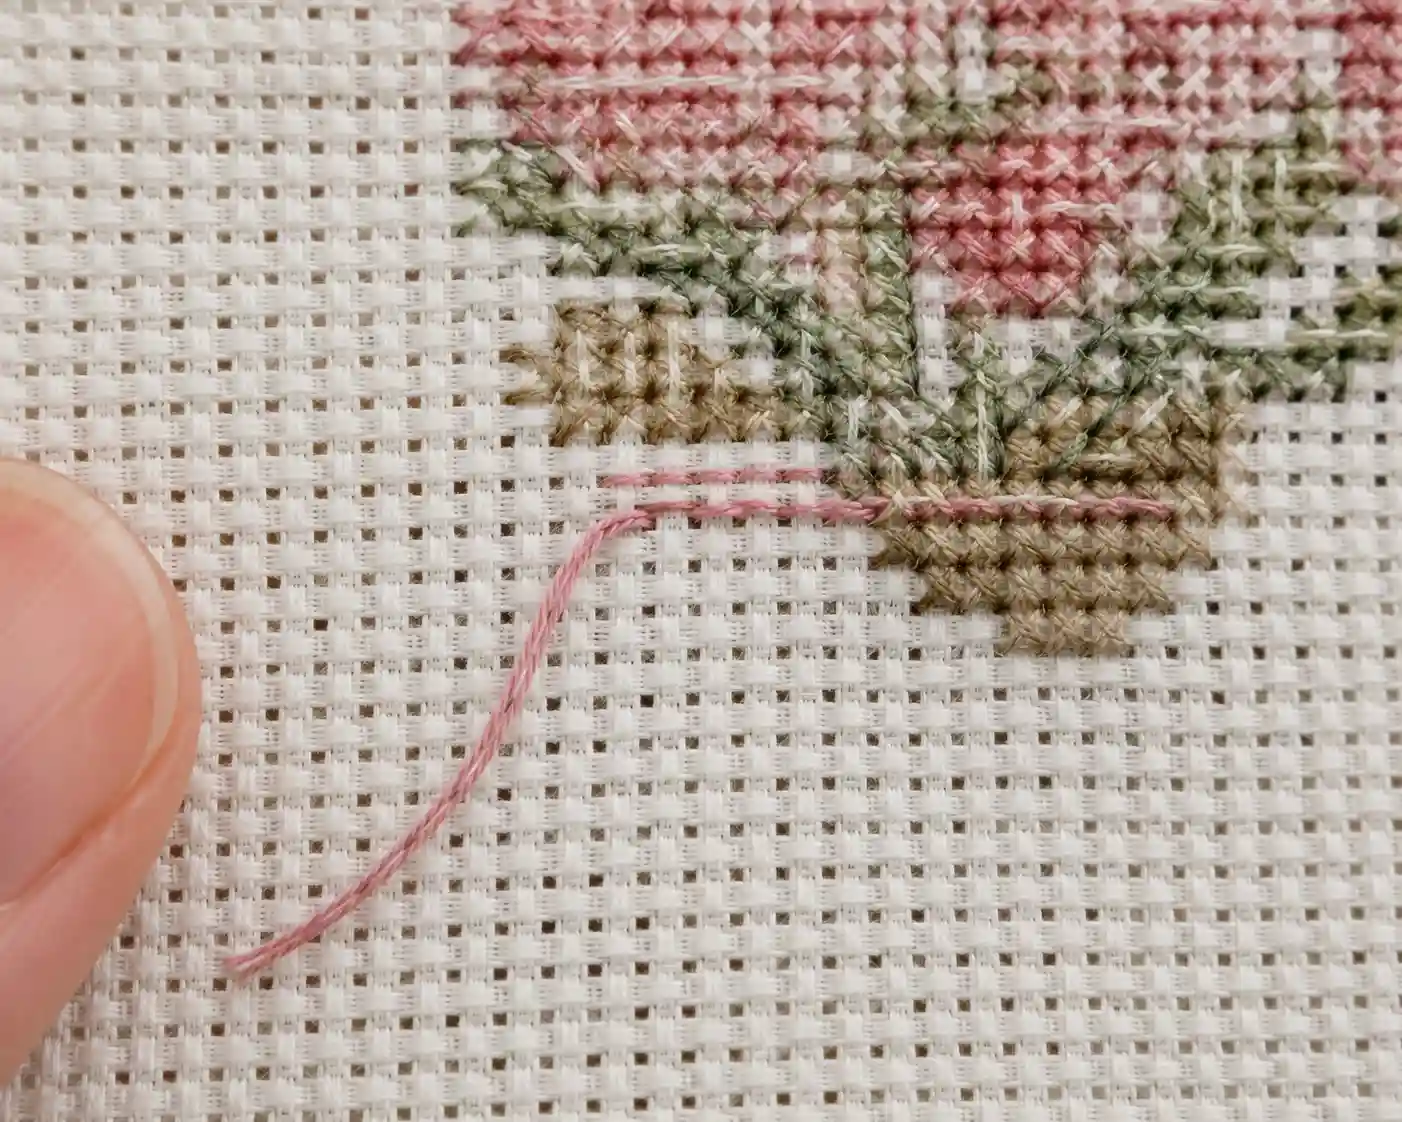
A knot at the back of your work seems like the obvious way to secure a thread, but it's genuinely worth avoiding - knots create lumps that show through on the front of the fabric, and they can work loose or pull through entirely over time. Here's how to start and finish a thread cleanly without one.
Why no-knot methods are worth learning
A knotted thread sits as a small hard bump against the back of your fabric, which can distort the front, especially on finer fabric or after washing and blocking (see blocking and washing a finished piece for why that final step matters). No-knot methods anchor a thread using the stitches themselves instead, leaving the back of the work flatter and considerably more durable long-term.
The away waste knot method
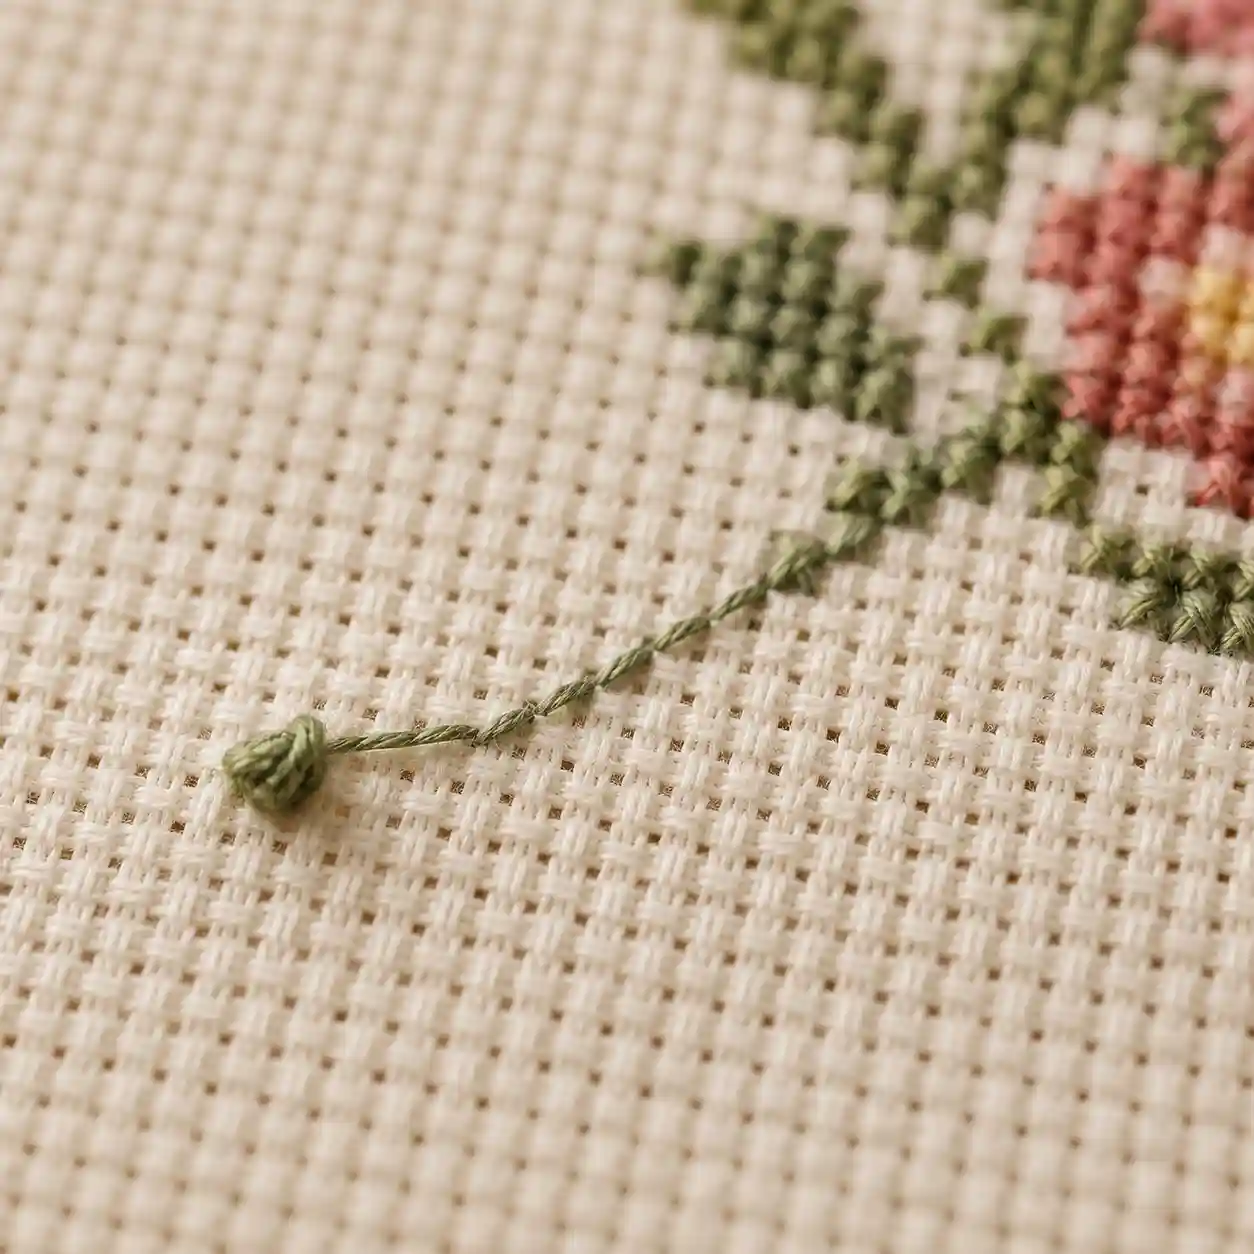
This is the method I'd recommend for a first thread on a new project, since it works from a completely bare piece of fabric with nothing already stitched to anchor against.
- Tie a small knot at the end of your floss anyway - but instead of burying it, take the needle down through your fabric from the front, about an inch away from where you actually want to start stitching, so the knot sits on the front surface.
- Bring the needle back up at your real starting point and begin stitching your design as normal, stitching over the tail of thread running toward the waste knot on the back as you go, which anchors it.
- Once you've stitched enough to secure that tail, snip the visible waste knot off the front and trim the loose end close to the fabric.
The loop method (for even-numbered strands)
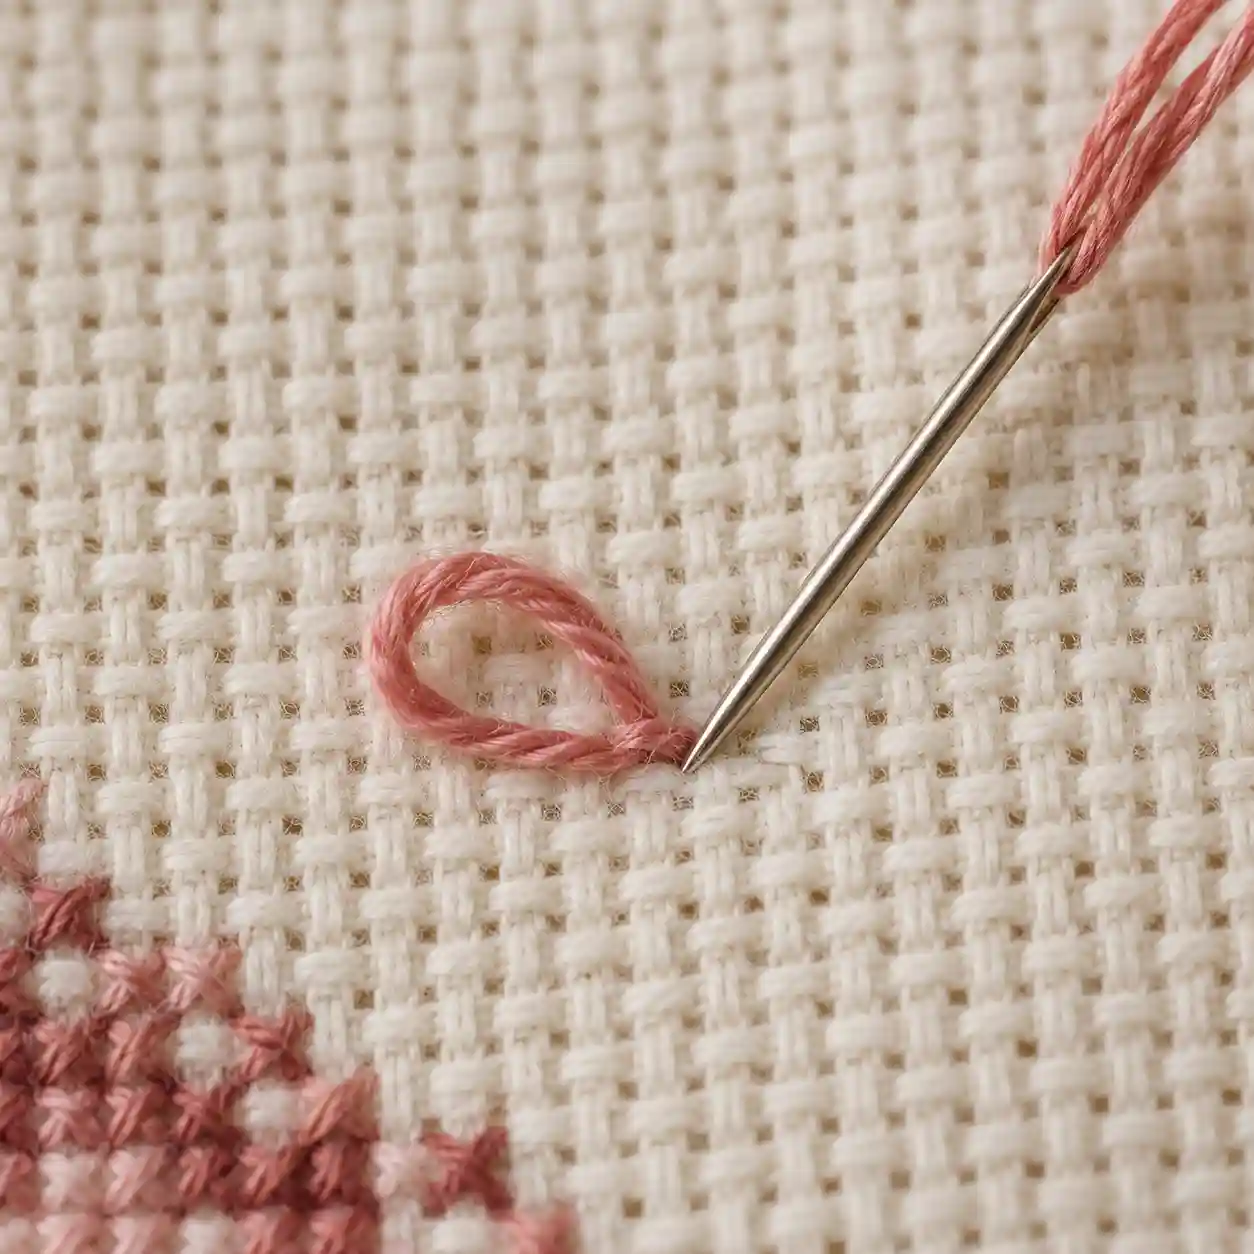
If you're stitching with an even number of strands (commonly two), this method is faster and needs no waste knot at all.
- Cut your floss to double the length you'd normally use, then separate out half the total strand count you want to stitch with (for 2-strand stitching, pull one long strand).
- Fold that single strand in half and thread the two cut ends through your needle, leaving a small loop at the folded end.
- Take your first stitch as normal, but instead of pulling the thread all the way through, pass the needle back through that starting loop before pulling tight - this locks the thread in place with no knot needed.
Ending a thread
To finish a thread without a knot, weave the needle under several nearby completed stitches on the back of the work - three or four stitches' worth of "under" passes holds securely - then trim the tail close to the fabric. This is also exactly how you handle a thread you're setting aside mid-design rather than finishing outright; see parking vs looping vs stringing for how to manage several threads in progress across a busy area without them tangling.
A small habit worth building
Getting comfortable with either the away waste knot or loop method takes maybe two or three tries before it feels automatic, and it's worth pushing through that slightly awkward first attempt - a knot-free back isn't just tidier, it genuinely makes a finished piece more durable and more forgiving when it's eventually washed, blocked, or framed.