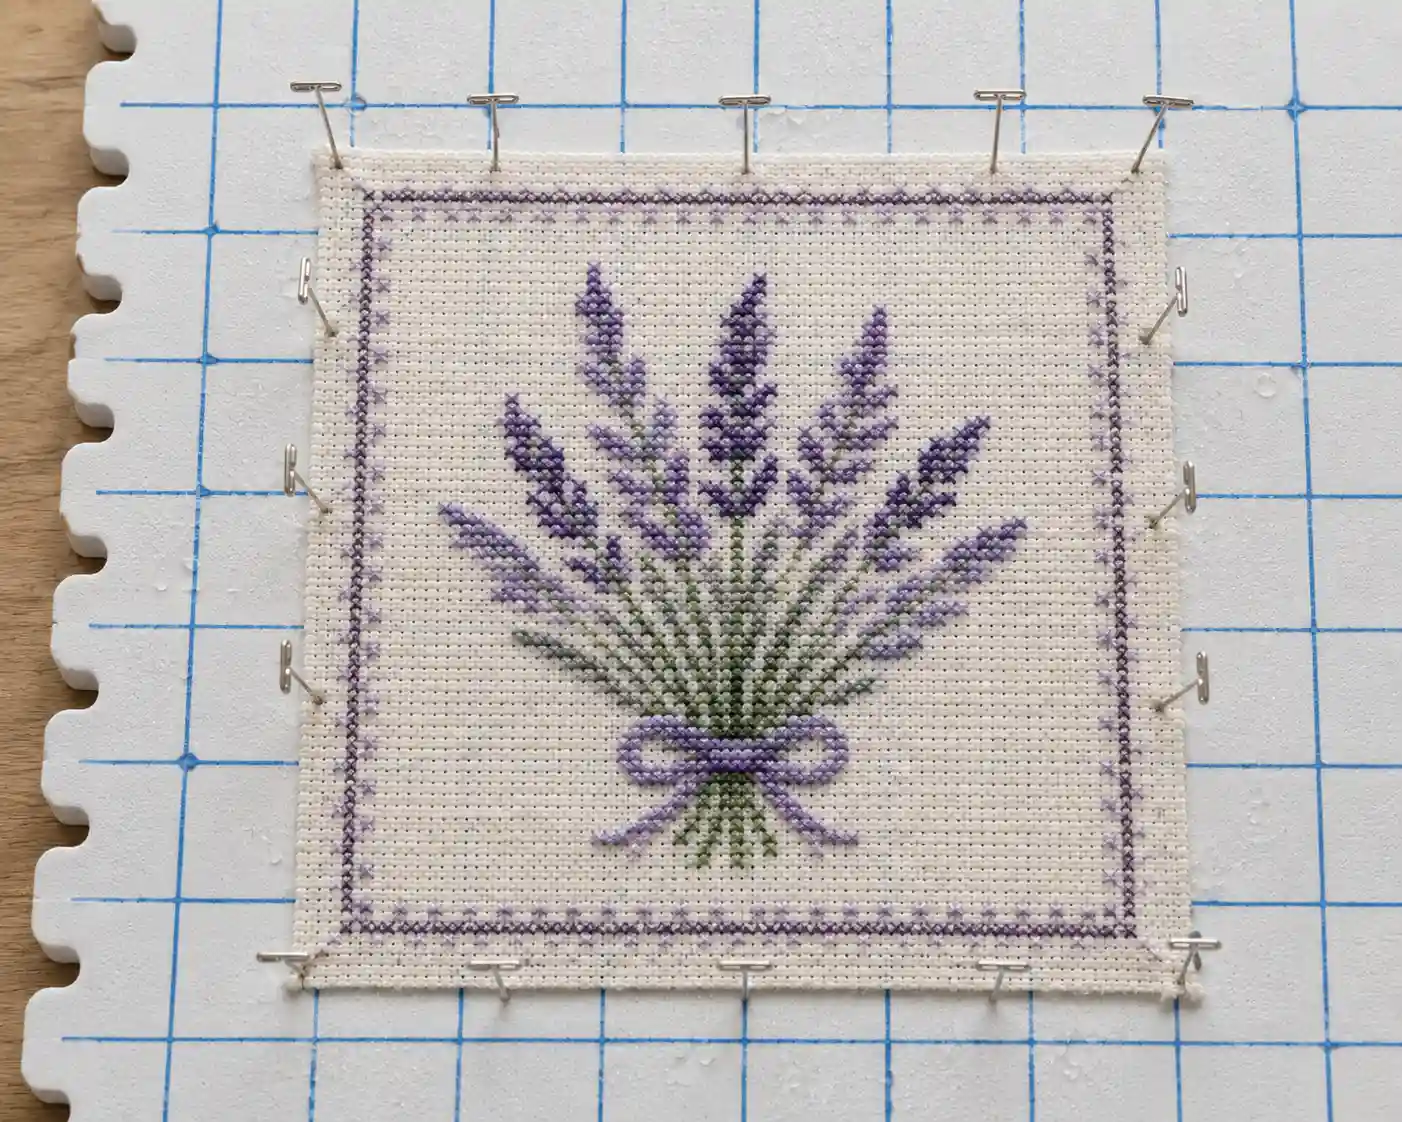
This is the step I see skipped most often by beginners, usually because it feels like an unnecessary extra chore once the stitching itself is finally done. It isn't optional if you want a genuinely crisp, professional-looking finished piece - hours of hand-held fabric almost always ends up slightly skewed, and blocking is what corrects that before framing or finishing locks the shape in permanently.
Why finished stitching needs this at all
Handling fabric for hours while stitching - pulling it through a hoop, holding it at slightly different angles, working the same area repeatedly - very reliably introduces a small amount of skew and puckering, even with careful, consistent stitch direction and tension. It's rarely dramatic, but it's almost always there, and it's much easier to correct with water and gentle stretching than to notice for the first time after a piece is already framed.
Washing first
Fill a basin with cool water and a small amount of mild soap made for delicates (a dedicated quilter's or embroidery soap is ideal; a mild dish soap works in a pinch). Submerge the piece and gently swish it - no scrubbing or wringing - to lift out any handling oils, marking-pen residue, or general grime picked up during stitching. Rinse thoroughly in clean cool water until no soap remains, then press the piece gently between clean towels to remove excess water without wringing or twisting it.
Blocking
- Lay the damp piece face-down on a padded, pinnable surface - a dedicated blocking board is ideal, but a thick towel over a corkboard works too.
- Gently pull the fabric square, checking that the weave's horizontal and vertical lines are genuinely perpendicular, not skewed - this is the actual correction blocking exists to make.
- Pin the edges down at even intervals, keeping the fabric taut and square as you go, checking periodically with a ruler or the fabric's own grid lines.
- Leave it to air dry completely, undisturbed, which can take anywhere from several hours to a full day depending on fabric and humidity.
- Once fully dry, unpin - the fabric holds its corrected, squared shape from here.
A quick word on floss colorfastness
Before washing a piece with strong, dark, or hand-dyed colors for the first time, it's worth testing a small unused length of that floss in water beforehand - genuine color bleeding is rare with reputable brands, but not unheard of, and it's far better to discover a problem on a spare length of thread than on a finished, framed piece.
If something looks off afterward
Occasionally a piece reveals a miscounted or slightly uneven area only once it's blocked flat and true - the correction makes small inconsistencies more visible, not less. If that happens, fixing common mistakes covers how to unpick and correct a section without redoing the whole piece.