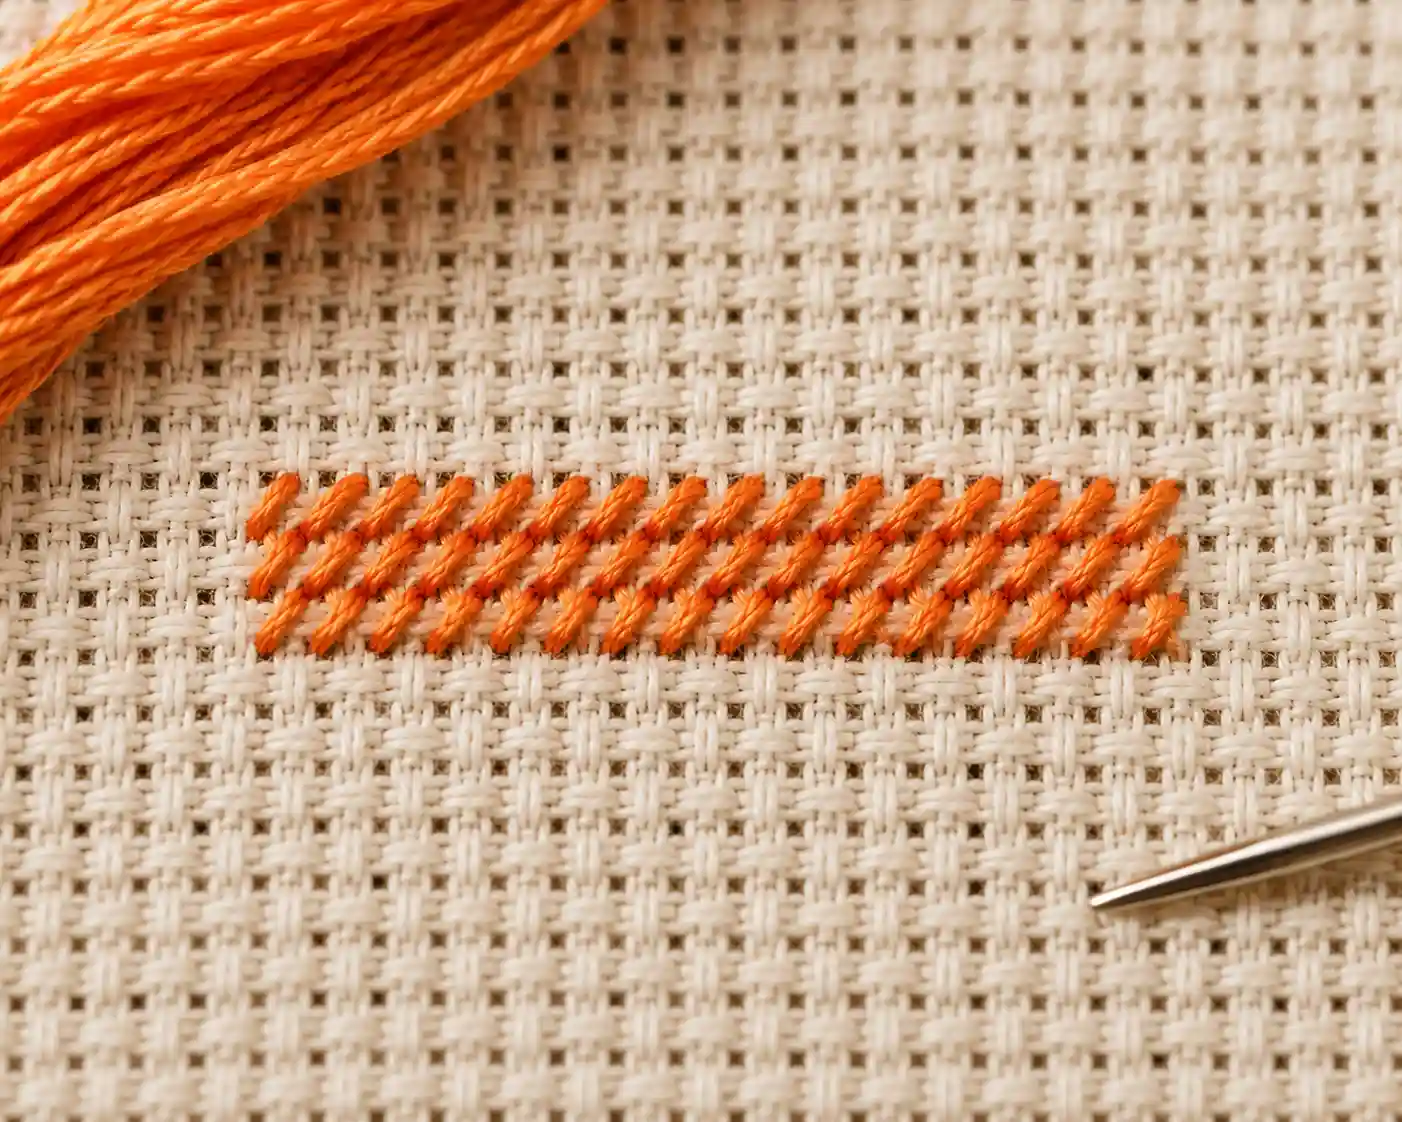
A half cross stitch is exactly what it sounds like: only one diagonal of the full cross stitch, worked bottom-left to top-right (or top-left to bottom-right, as long as it's consistent). It covers less fabric than a full cross stitch and reads as noticeably lighter and thinner - I reach for it any time a pattern wants softness rather than solid color.
How to work it
Up at 1, down at 2. One diagonal - no second pass.
- Bring the needle up through the fabric at the bottom-left corner of the square.
- Cross diagonally and insert the needle down through the top-right corner.
- Move to the next square and repeat.
There's no second, crossing pass - that's the entire difference from a full cross stitch. It uses roughly half the thread per square and stitches noticeably faster over a large area.
Where it shows up
Half cross stitch is most often specified deliberately by a pattern designer for shading, soft backgrounds, or sky/water areas where full coverage would feel too heavy. It's easy to confuse with tent stitch, a related single-diagonal stitch used in canvas needlepoint rather than counted cross-stitch - I mixed the two up myself when I was first learning, so see tent stitch vs cross stitch for the distinction, since the two look almost identical but serve different fabrics and traditions.
Because it leaves more of the fabric visible than a full cross stitch, half cross stitch is less forgiving of an uneven or heavily textured fabric - the base cloth is doing more visual work. I stick to a smooth, evenly woven Aida or evenweave whenever a pattern leans on it, and I'd suggest you do too for the cleanest results.
What it's used for
Shading, backgrounds, and any area of a design where a lighter, less dense coverage is wanted - also common in needlepoint-adjacent charts that specify half coverage to save thread or soften a color transition.