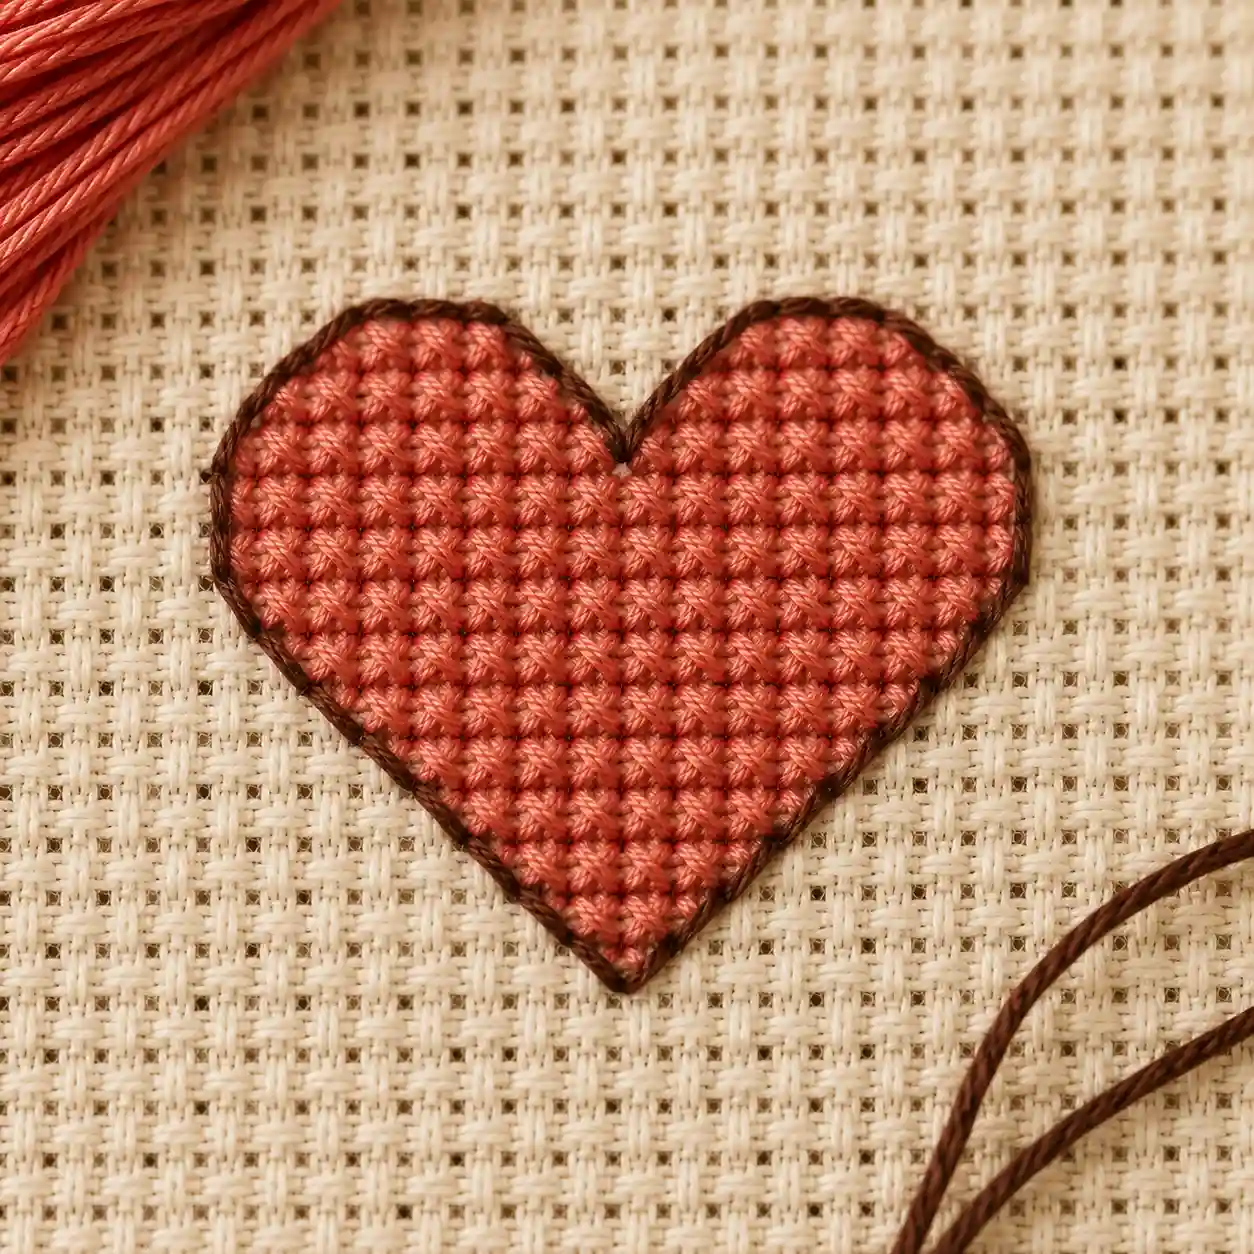
Backstitch is a straight, linear stitch worked after the cross stitches in a design are complete, and it's the one I look forward to most on any piece - it's the moment a grid of colored blocks suddenly reads as a picture. Where cross stitch fills area, backstitch draws: crisp edges, lettering, the details that make a design click into focus.
How to work it
Up ahead at 1 and 3, then step back down at 2 and 4 - each stitch closes the gap the last one left.
- Bring the needle up one stitch-length ahead of where you want the line to start.
- Insert the needle down at your actual starting point, stepping backward to make the first stitch.
- Bring the needle up again, one stitch-length ahead of where you last came up.
- Insert the needle down into the hole your previous stitch came up through, closing the gap - this "steps backward" each time, which is where the stitch gets its name.
- Repeat steps 3 and 4 for the rest of the line: come up one length ahead, then step back down into the hole you used last time you came up.
The result is an unbroken line with no gaps on the front of the fabric, unlike a running stitch.
Reading backstitch on a chart
On a pattern, backstitch is shown as a solid line drawn over the grid - not filled into a square like a cross stitch symbol. The chart key will specify a floss color and often the number of strands to use (usually fewer strands than the cross stitch itself, since backstitch is meant to read as a fine line, not a bold one). Check the abbreviations and symbols glossary if a chart labels backstitch as "BS," which is standard shorthand.
Tips
- Always work backstitch after the surrounding cross stitches are finished - it's much easier to place an outline accurately against stitches that already exist than to stitch around a line first. I learned this the hard way on an early piece and had to unpick half a border.
- Keep tension light. Backstitch pulled too tight will bow the fabric slightly and distort the shape it's meant to define.
- For long straight lines (borders, verse text), I work in short sections rather than trying to keep a perfectly even stitch length across a long run freehand - it's much easier to stay straight that way.
What it's used for
Outlining shapes, adding fine linear detail (letters, whiskers, facial features, borders), and giving definition to areas of full cross stitch that would otherwise blur together.